Dimensions such as products or branches are uploaded into Enable to calculate rebate earnings for trading programs. Dimension items selected in program lines rely on dimension data imported into the Enable channel in order for earnings to be accurately calculated.
Dimensions are located within the Config area of the Trading programs app.
Channel admin users will have access to the Config area and dimension uploads within Enable. If you require additional help, please reach out to our support team here.
To download the dimension items template:
Step 1: Click on Config in the green banner at the top of the page.
Step 2: Click on Structure in the drop-down menu.
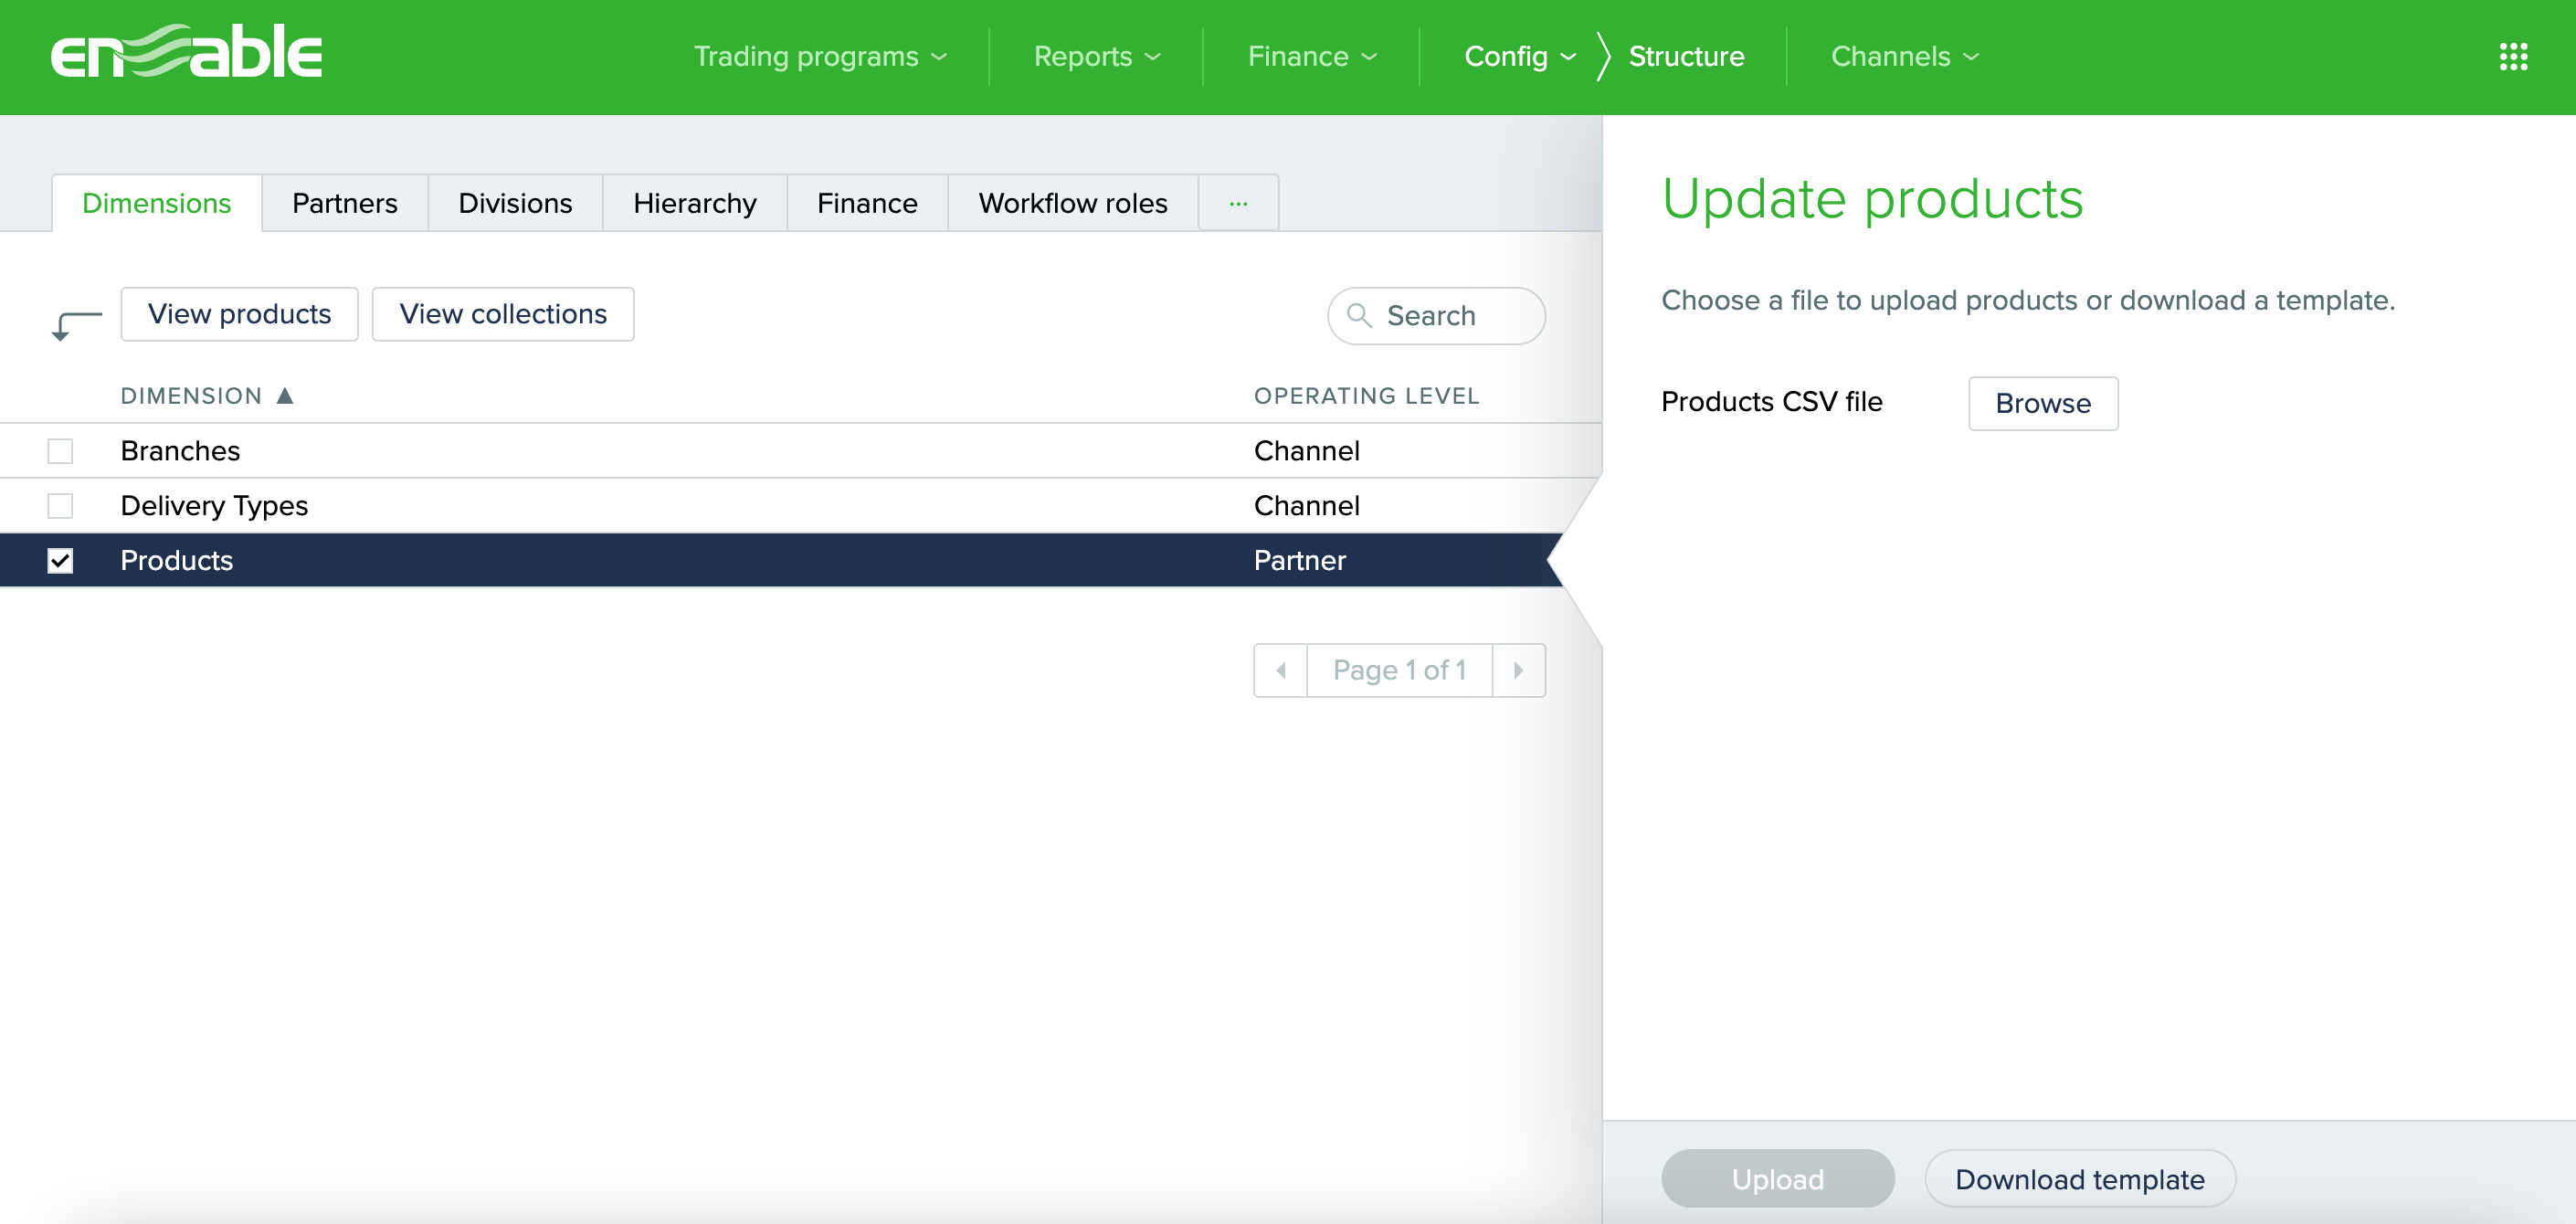
Step 3: In the Dimensions tab, click on your specific dimension (e.g. products).
Step 4: On the right hand side, click Download template and set the checkbox for Populated with existing to download a template containing all existing dimension data within your Enable channel. Alternatively, leave the checkbox not set to download a blank template.
Step 5: Click Download to save the template to your computer’s downloads folder.
Once the dimensions template has been downloaded, you will need to populate each row with the following column data for your dimension items. Column headers must not be changed or renamed in the file.
Note: Some columns in this template may be labelled differently, or more columns may exist if additional dimension attributes have been set up during your Enable implementation. Please refer to the data guide provided by your implementation team, or reach out to our support team here if you require additional assistance.
Once you have followed the above sections and populated the dimension items template, you can upload the template within the same trading programs area.
Step 1: Click on Config in the green banner at the top of the page.
Step 2: Click on Structure in the drop-down menu.
Step 3: In the Dimensions tab, click on your specific dimension (e.g. Products)..
Step 4: On the right hand side, click Browse to select and open the relevant populated template file.
Step 5: Click Upload.
The file will then be queued for upload. This may take some time to complete if a large volume of dimension items have been uploaded.
Once processed, Upload results will be displayed on the right of the page, either confirming that the upload has been completed with the number or imported rows, or identifying if the upload file was invalid.
If the dimensions file did not successfully upload, rejection reasons will be identified under the upload results. In this case, you should make the relevant amendments before re-uploading your dimension items (example below).

Need to upload suppliers or customers into Enable? Learn how to manually import trading partners for trading programs here.