Once you have manually created an individual dimension item or manually imported new dimension items in bulk, you will need to allocate these dimension items to a collection. Having multiple collections can be helpful especially if departments categorize the same items differently or if there are regular changes to the dimension items. For example, when reporting on rebate earnings, your finance team may only want to see a product category and not the specific brand. Thus, you can create a collection that is ‘For reporting only’ with fewer attributes than the products dimension collection that you use for assignment within a program line.
To allocate dimension items, admin users will be required to access the Config module of Trading Programs by clicking on Config at the top of the page and then clicking on Structure in the drop-down menu. This will take you to the Dimensions tab.
Simply select the applicable dimension from the list and click View collections. Now you can select a collection that is available from the list provided and then click on the Edit item values button (as shown below).

You will now see a list of your dimension items that are available to be allocated to your collection. You can assign attribute values to dimension items in one of two ways. The first option is to select a particular dimension item and, on the right of your page, manually enter a value for each attribute that has been selected for the collection (as shown below).

It is also possible to assign attribute values in bulk by uploading a CSV file. To do this click on Config then Structure and select the dimension that contains the items you'd like to allocate. You will see an option to Download template in the bottom right-hand corner.

Clicking this will display an option to Populated with existing.

Clicking the Download button will generate a CSV file containing your selected dimension items. The CSV template file will contain a column labels header row i.e. a column header called ‘Location’, another called ‘Reference’ and additional columns for each attribute value category.
The first two columns (in this example ‘Location’ and ‘Reference’) will already be populated with previously imported dimension data. Column labels for each attribute value category will have a personalized reference that is unique to your dimension configuration e.g. ‘Division’ or ‘Category’.
For each dimension item row you wish to allocate, enter a relevant value within the corresponding attribute value column. Once uploaded, this attribute will define what collections the trading partners belong to.
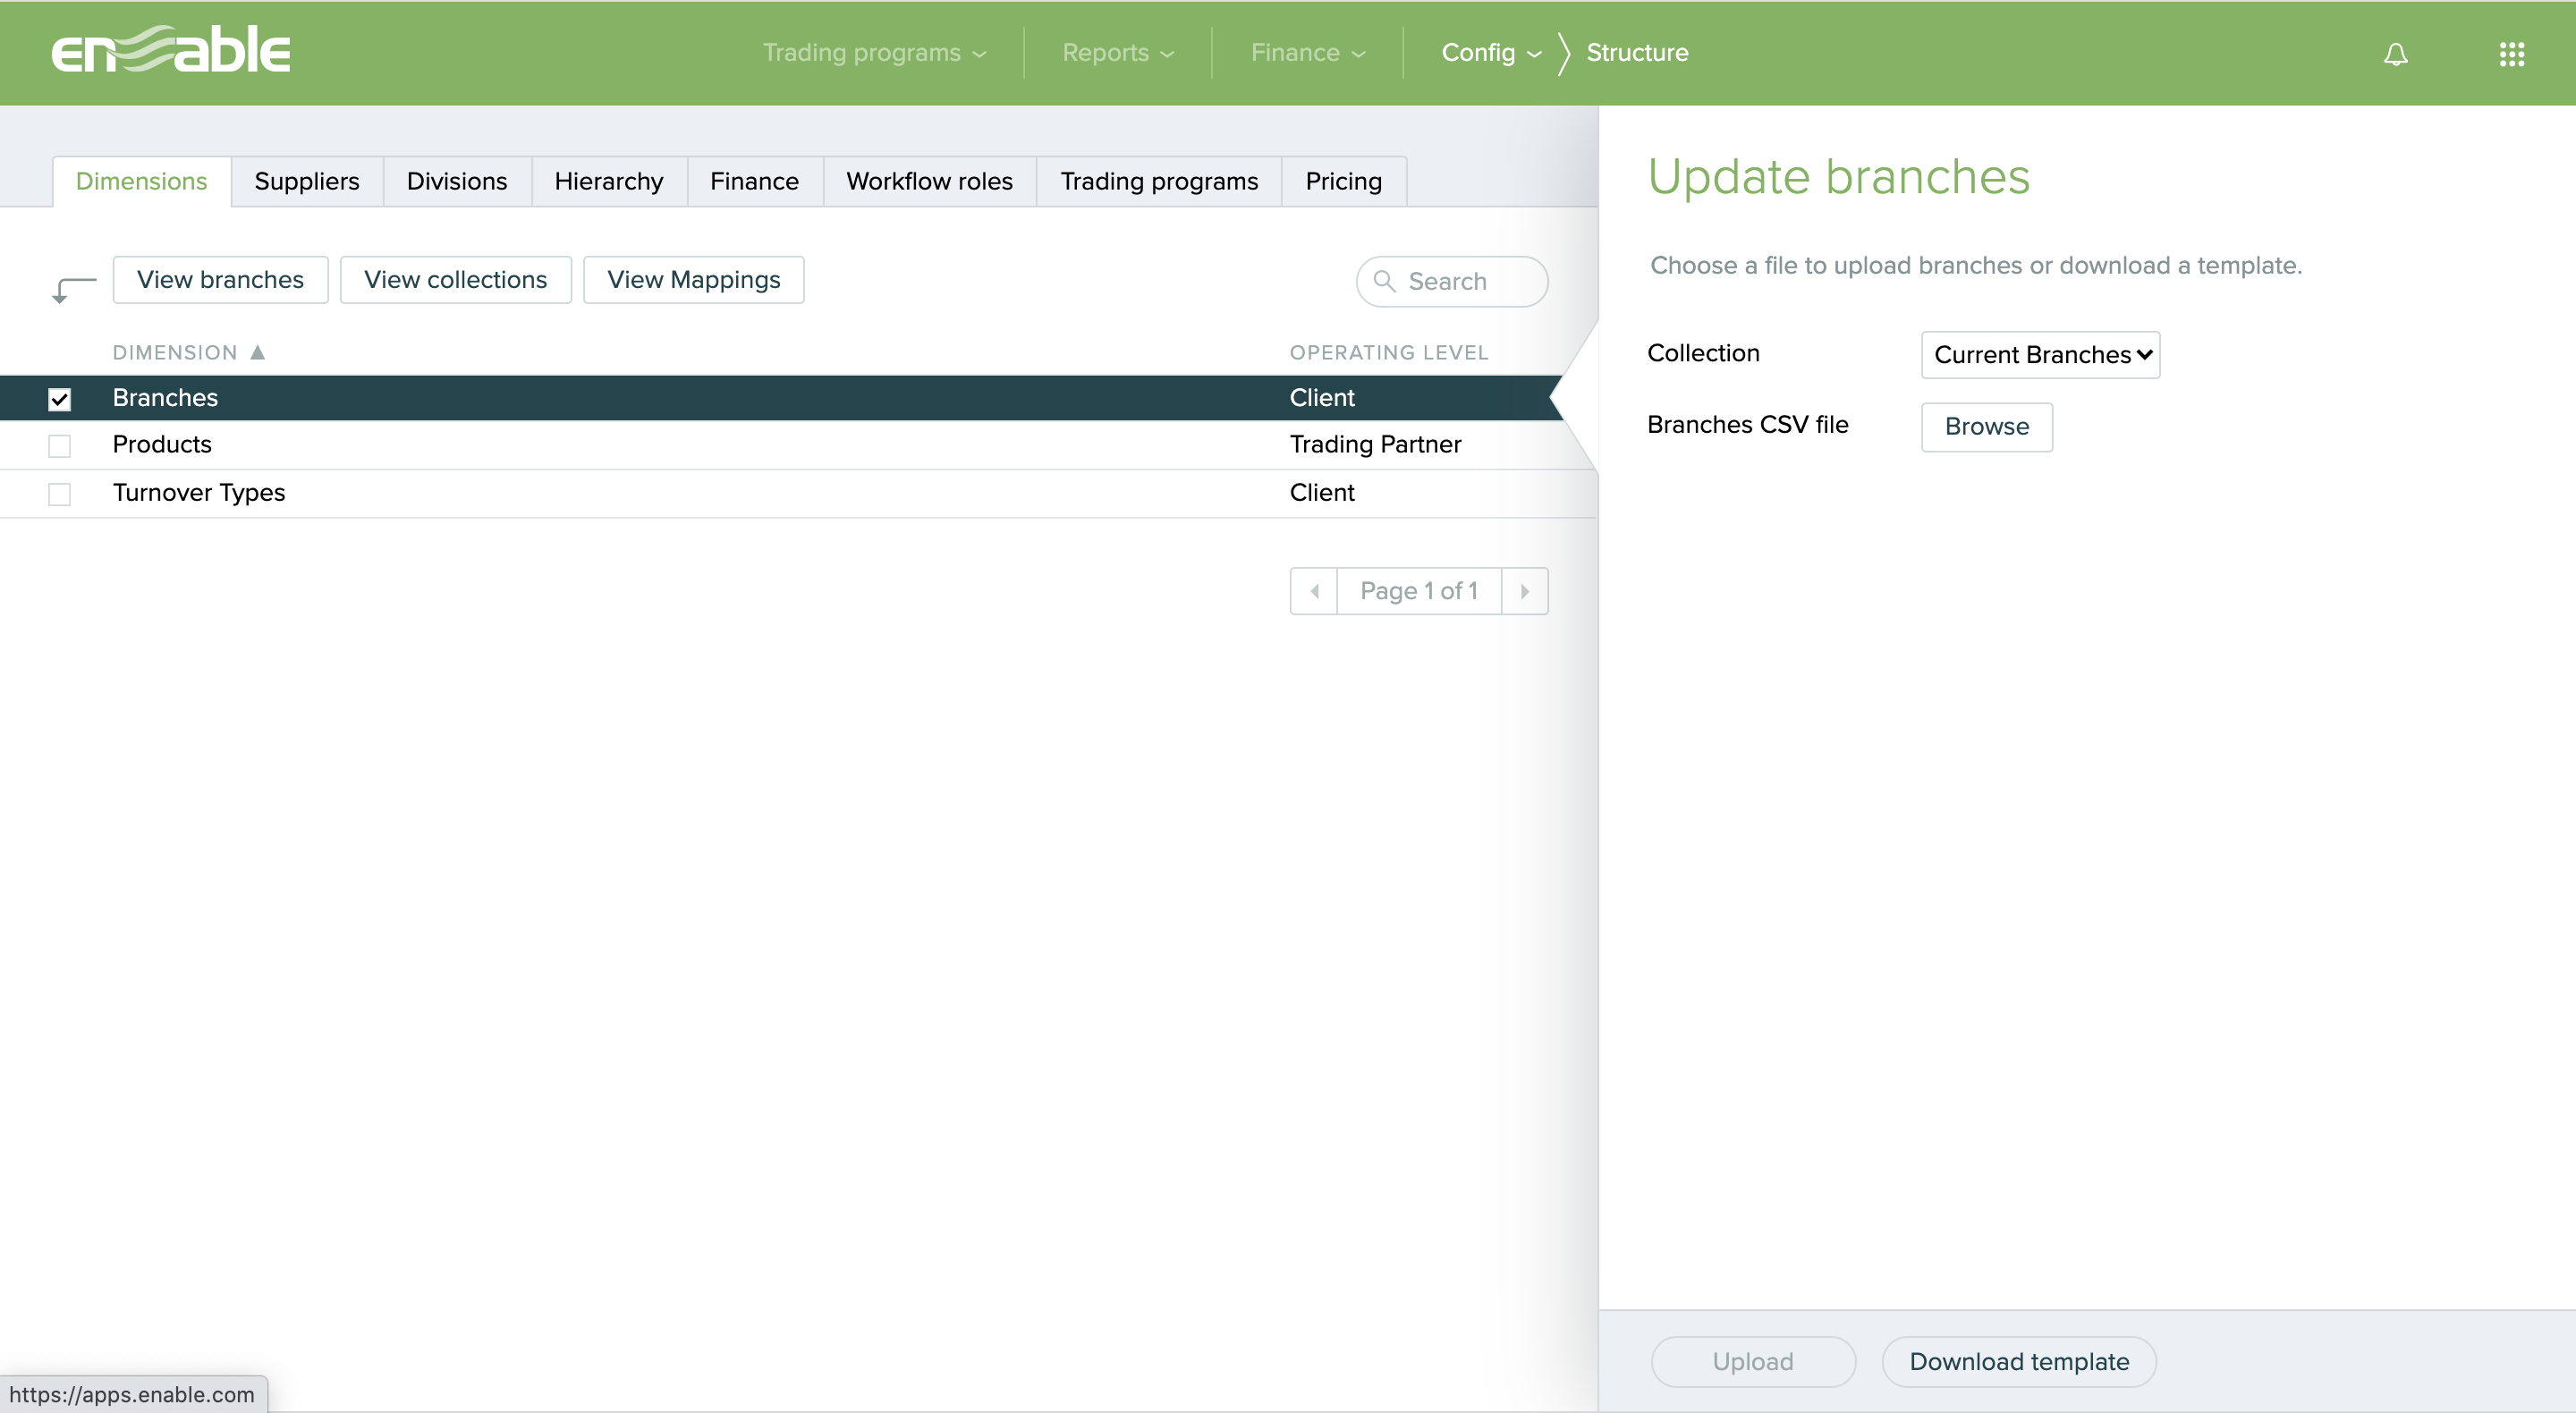
You can then save this CSV file and upload it back into Trading Programs by clicking on the Browse button, navigating to the CSV file’s location and then clicking Upload.
Please note — for a given collection, a dimension item will only become allocated once an attribute value has been entered for that item for each of the attributes available for the given collection. Any dimension item that does not have a value assigned for each of a collection’s attributes, will not be marked as ‘allocated’ for that collection.