Only those users who have access to the admin area will be able to update dimension items in Trading Programs.
To manually add dimension items into Trading Programs, admin users will be able to access the admin area of Trading Programs by clicking on Config at the top of the page and then clicking on Structure in the drop-down menu. This will take you to the Dimensions tab.
You will then have the option to either add dimension items one at a time via the user interface, or upload and update dimension items in bulk using a CSV upload process.
To upload new dimension items in bulk, navigate to the Dimensions tab and select the dimension you wish to add records to. Upon selecting a dimension item, you will find a Download template option located in the bottom right-hand corner. Clicking on this button will give you the option of populating the CSV with existing data.
Leaving Populated with existing unticked will generate an empty CSV file with column headings 'Name' and 'Reference', as well as headings for each of the attributes against this dimension. You will need to populate each column appropriately, for example the names of the products as you wish it to appear in Trading Programs will be entered into the ‘Name’ column if you're updating the 'Products' dimension, and the product references will be entered into the ‘Reference’ column. Filling the columns for any attributes will allocate the products into collections.
Selecting Populated with existing will generate a CSV file with column headings 'Name' and 'Reference', as well as headings for each of the attributes against this dimension. This CSV file will be populated with all the existing data. You can update or delete chosen dimension rows in this CSV file.
There will also be column headers for optional start and end dates to be recorded against each dimension item attribute row, which can be used as a comparison against program line start and end dates (whereby dimension items whose start and end dates do not overlap with the program line's start and end date cannot be used for that program line).
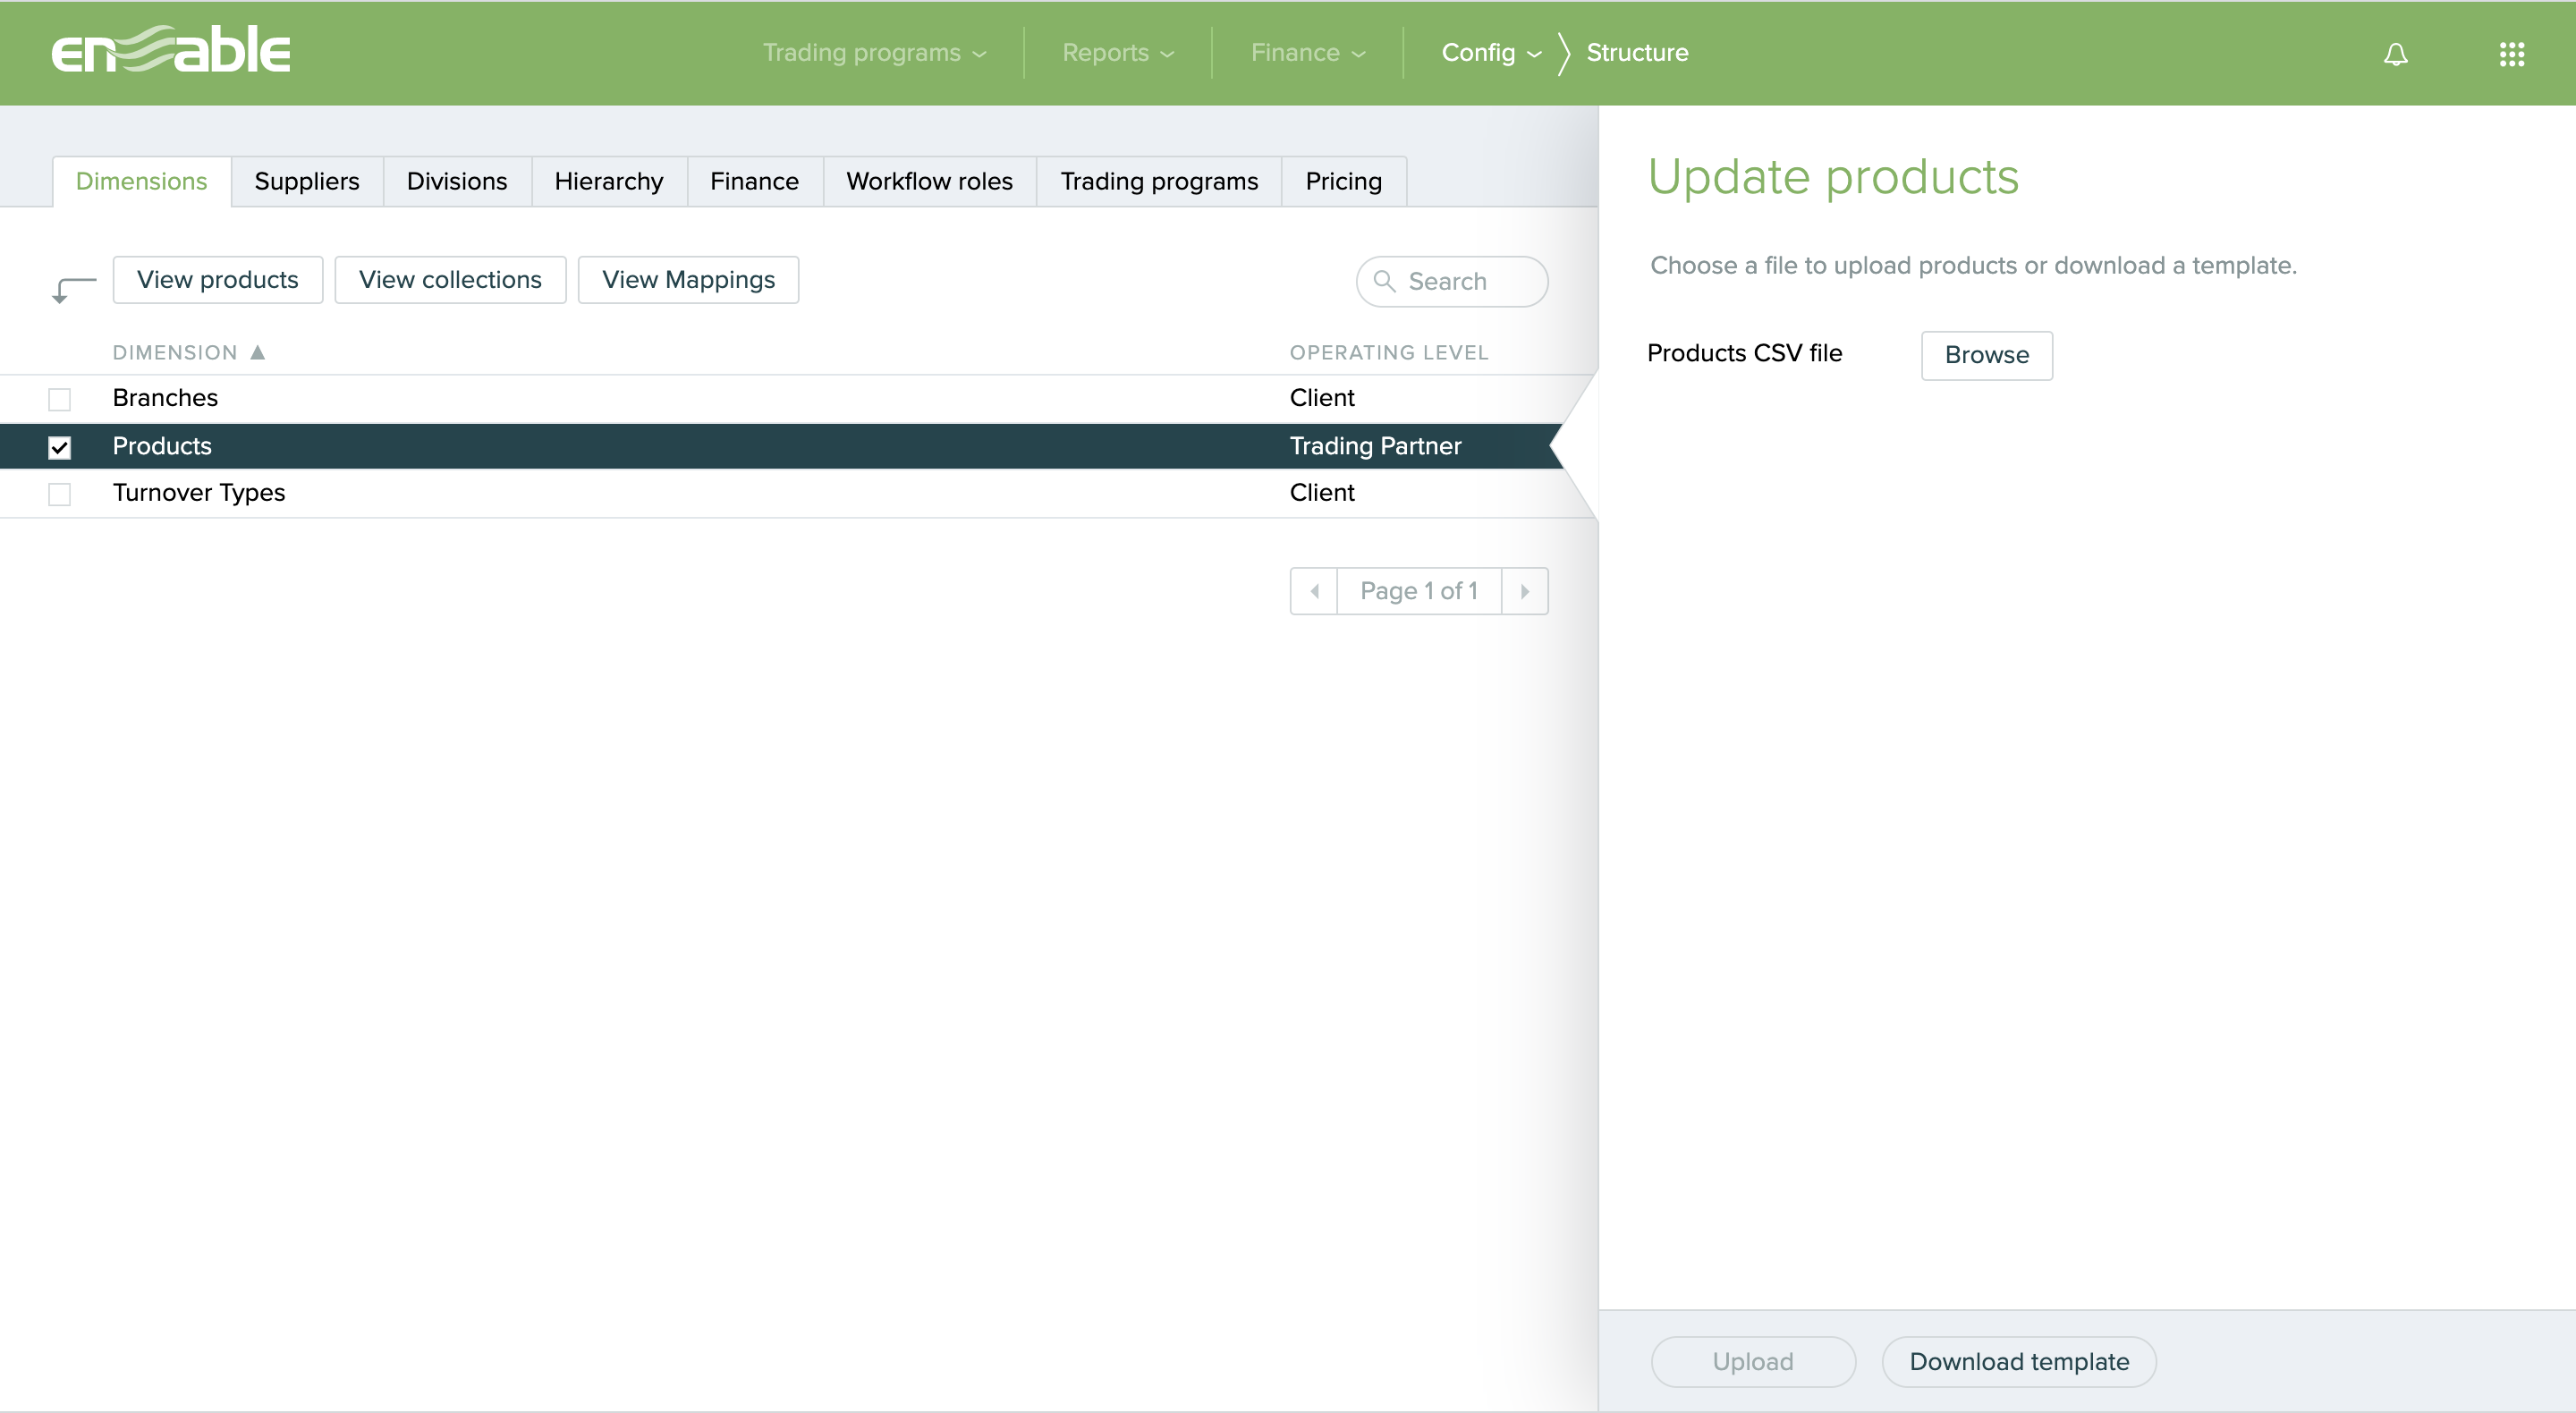
Once you have finished updating and have saved your CSV file, you can upload this new CSV file by clicking on the Browse option located on the right of the page. You will then need to select the file you wish to be uploaded and click Open. Once a file has been selected you will then need to select Upload in the bottom right-hand corner. Once Upload is clicked, the import process will begin and the progress of the trading partner upload will be reported at the bottom of the page.
Once the upload is complete, you will notice that the panel on the right-hand side will change to Upload results. This panel will also show an imported rows count, as well as a listing of any rejected rows.
If any rows are rejected, Trading Programs will display a list of the rows that have been rejected because they contain duplicate values. This list will allow you to determine for each rejected row which columns contains a duplicate value and for each of these columns which other rows contain the same value.
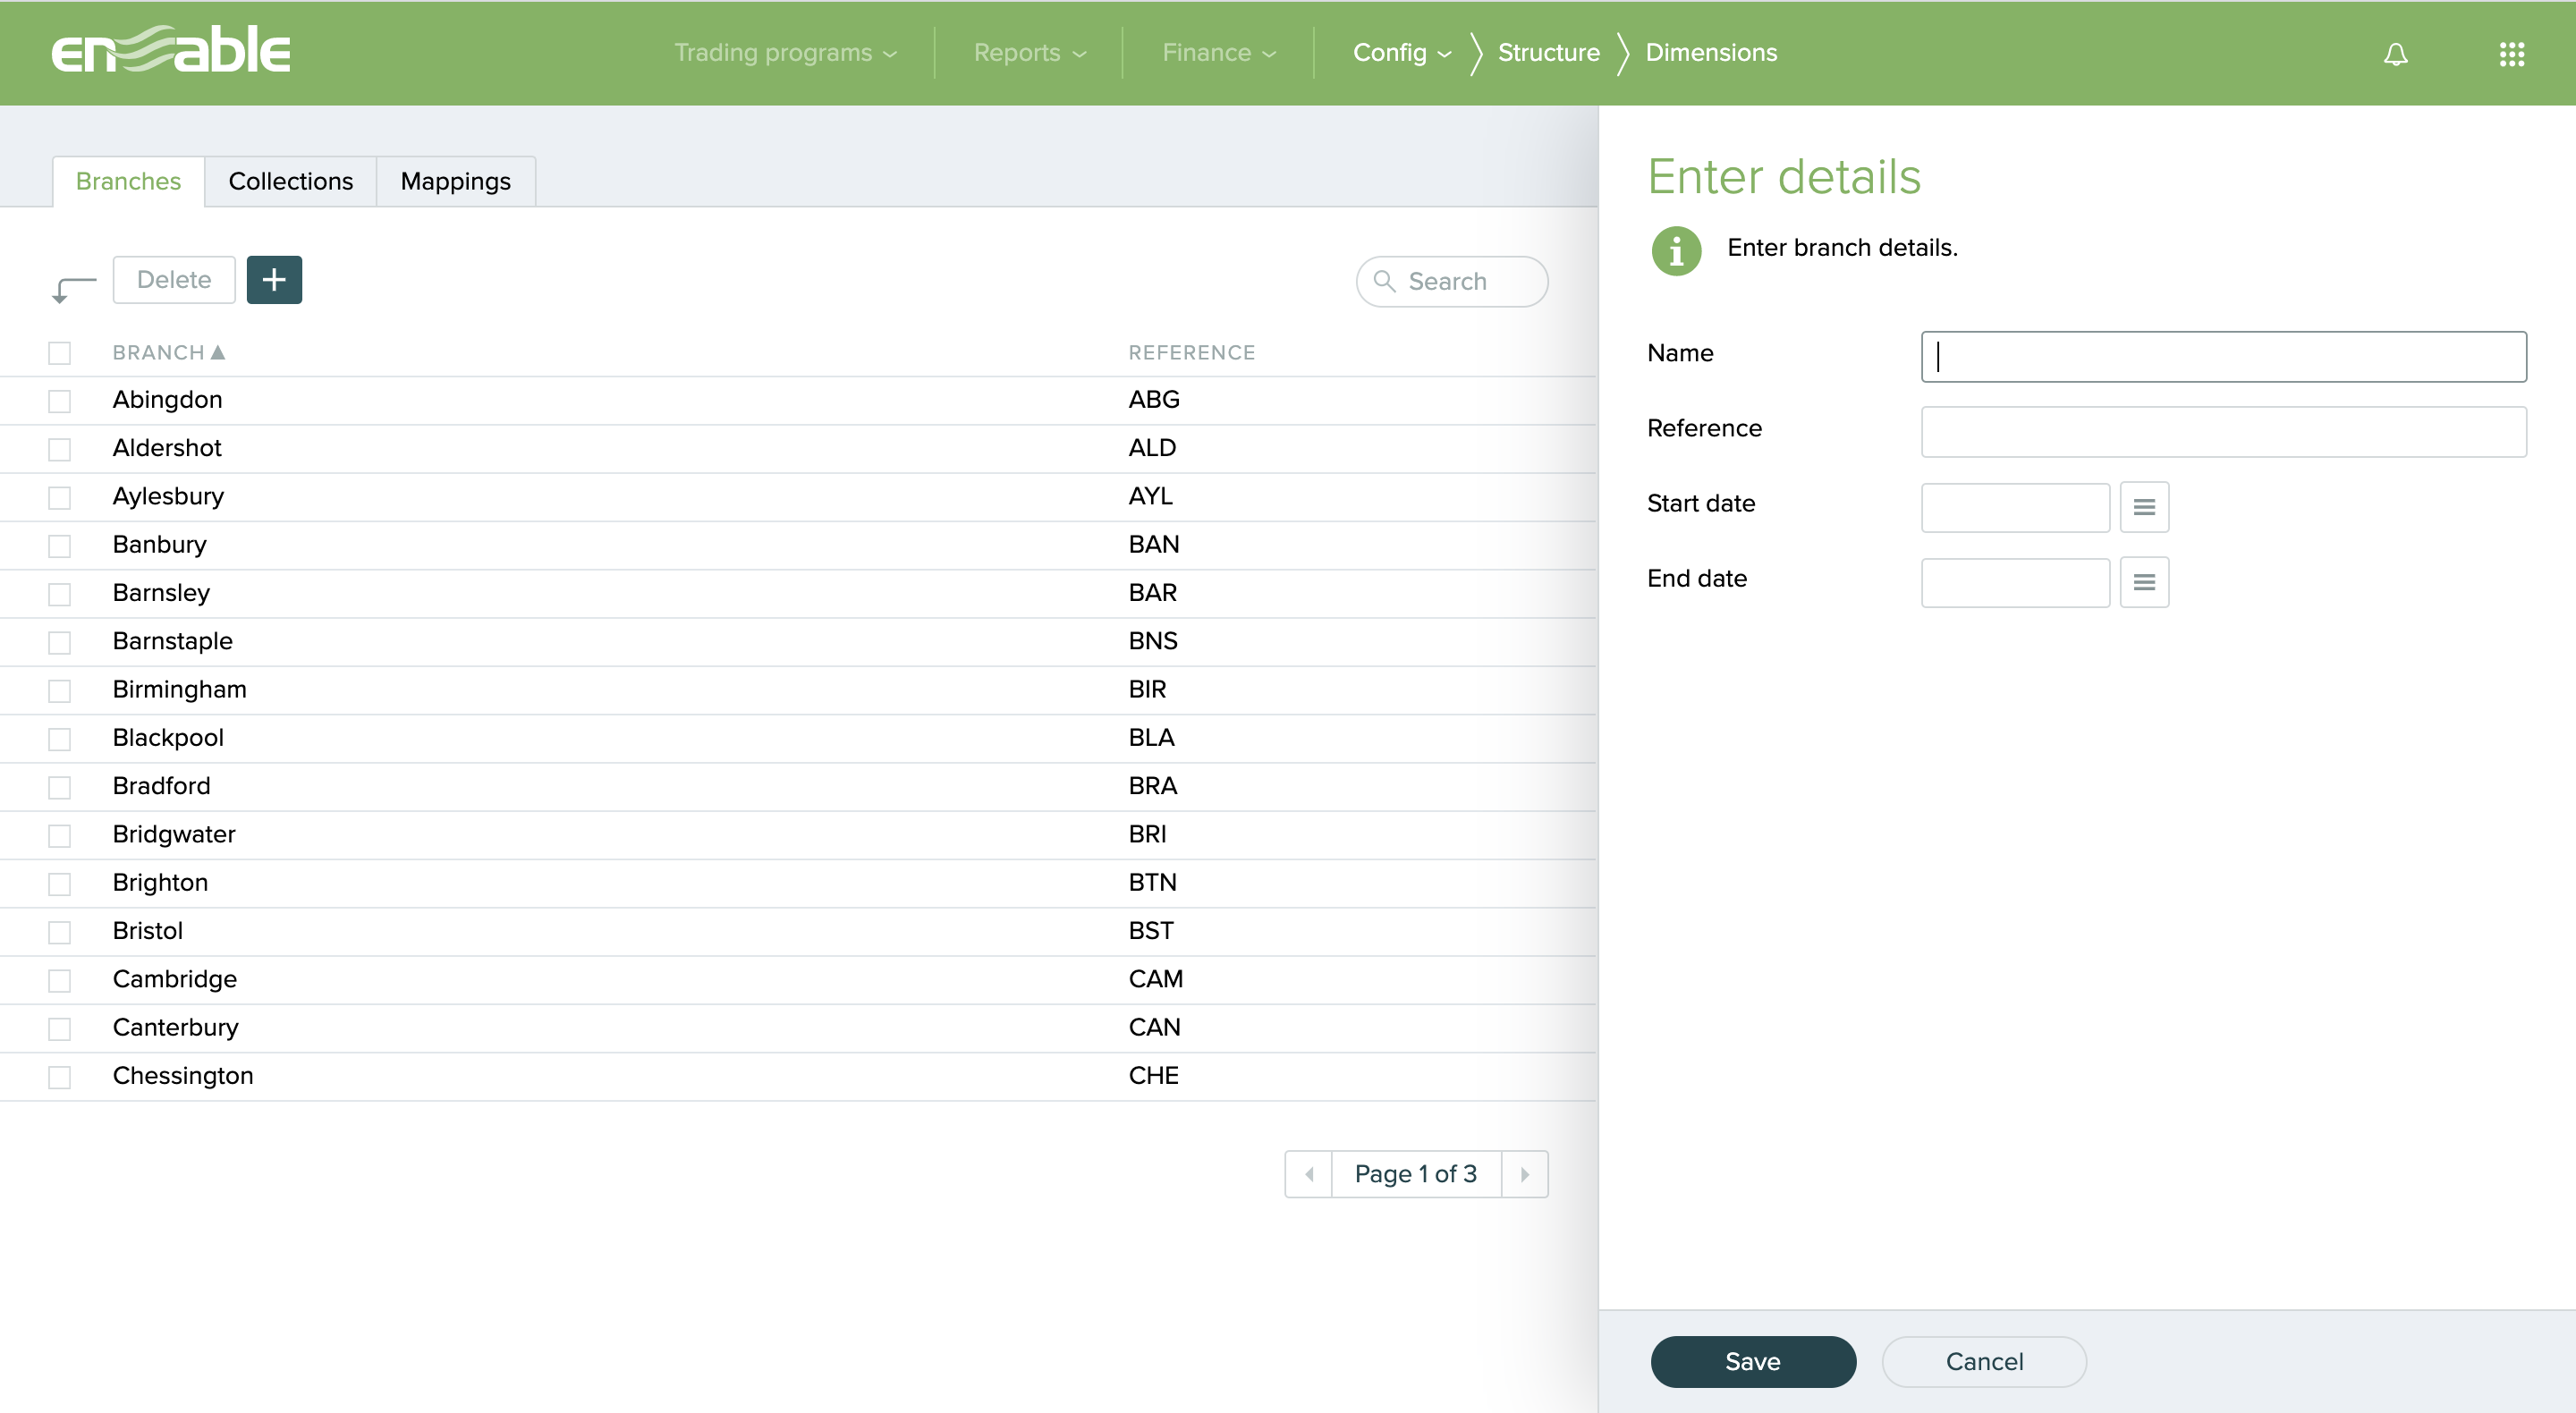
To add dimension items one at a time, you will first need to navigate to the Dimensions tab as explained above. Now select a dimension you wish to create an item for, which will trigger a View {DimensionName} button to become available. Click this button and you will be taken to a list of any pre-existing dimension items.
To add a single dimension item to this list, click on the + button, enter your dimension item attributes in the panel to the right of the page (as shown in the screenshot below) and then click Save.
To Delete dimension items at a client-level, simply select the item you wish to remove and click the Delete button in the top left-hand corner.
Adding dimension items individually at the trading partner level follows a slightly different process, as these dimension items will relate to specific trading partners.
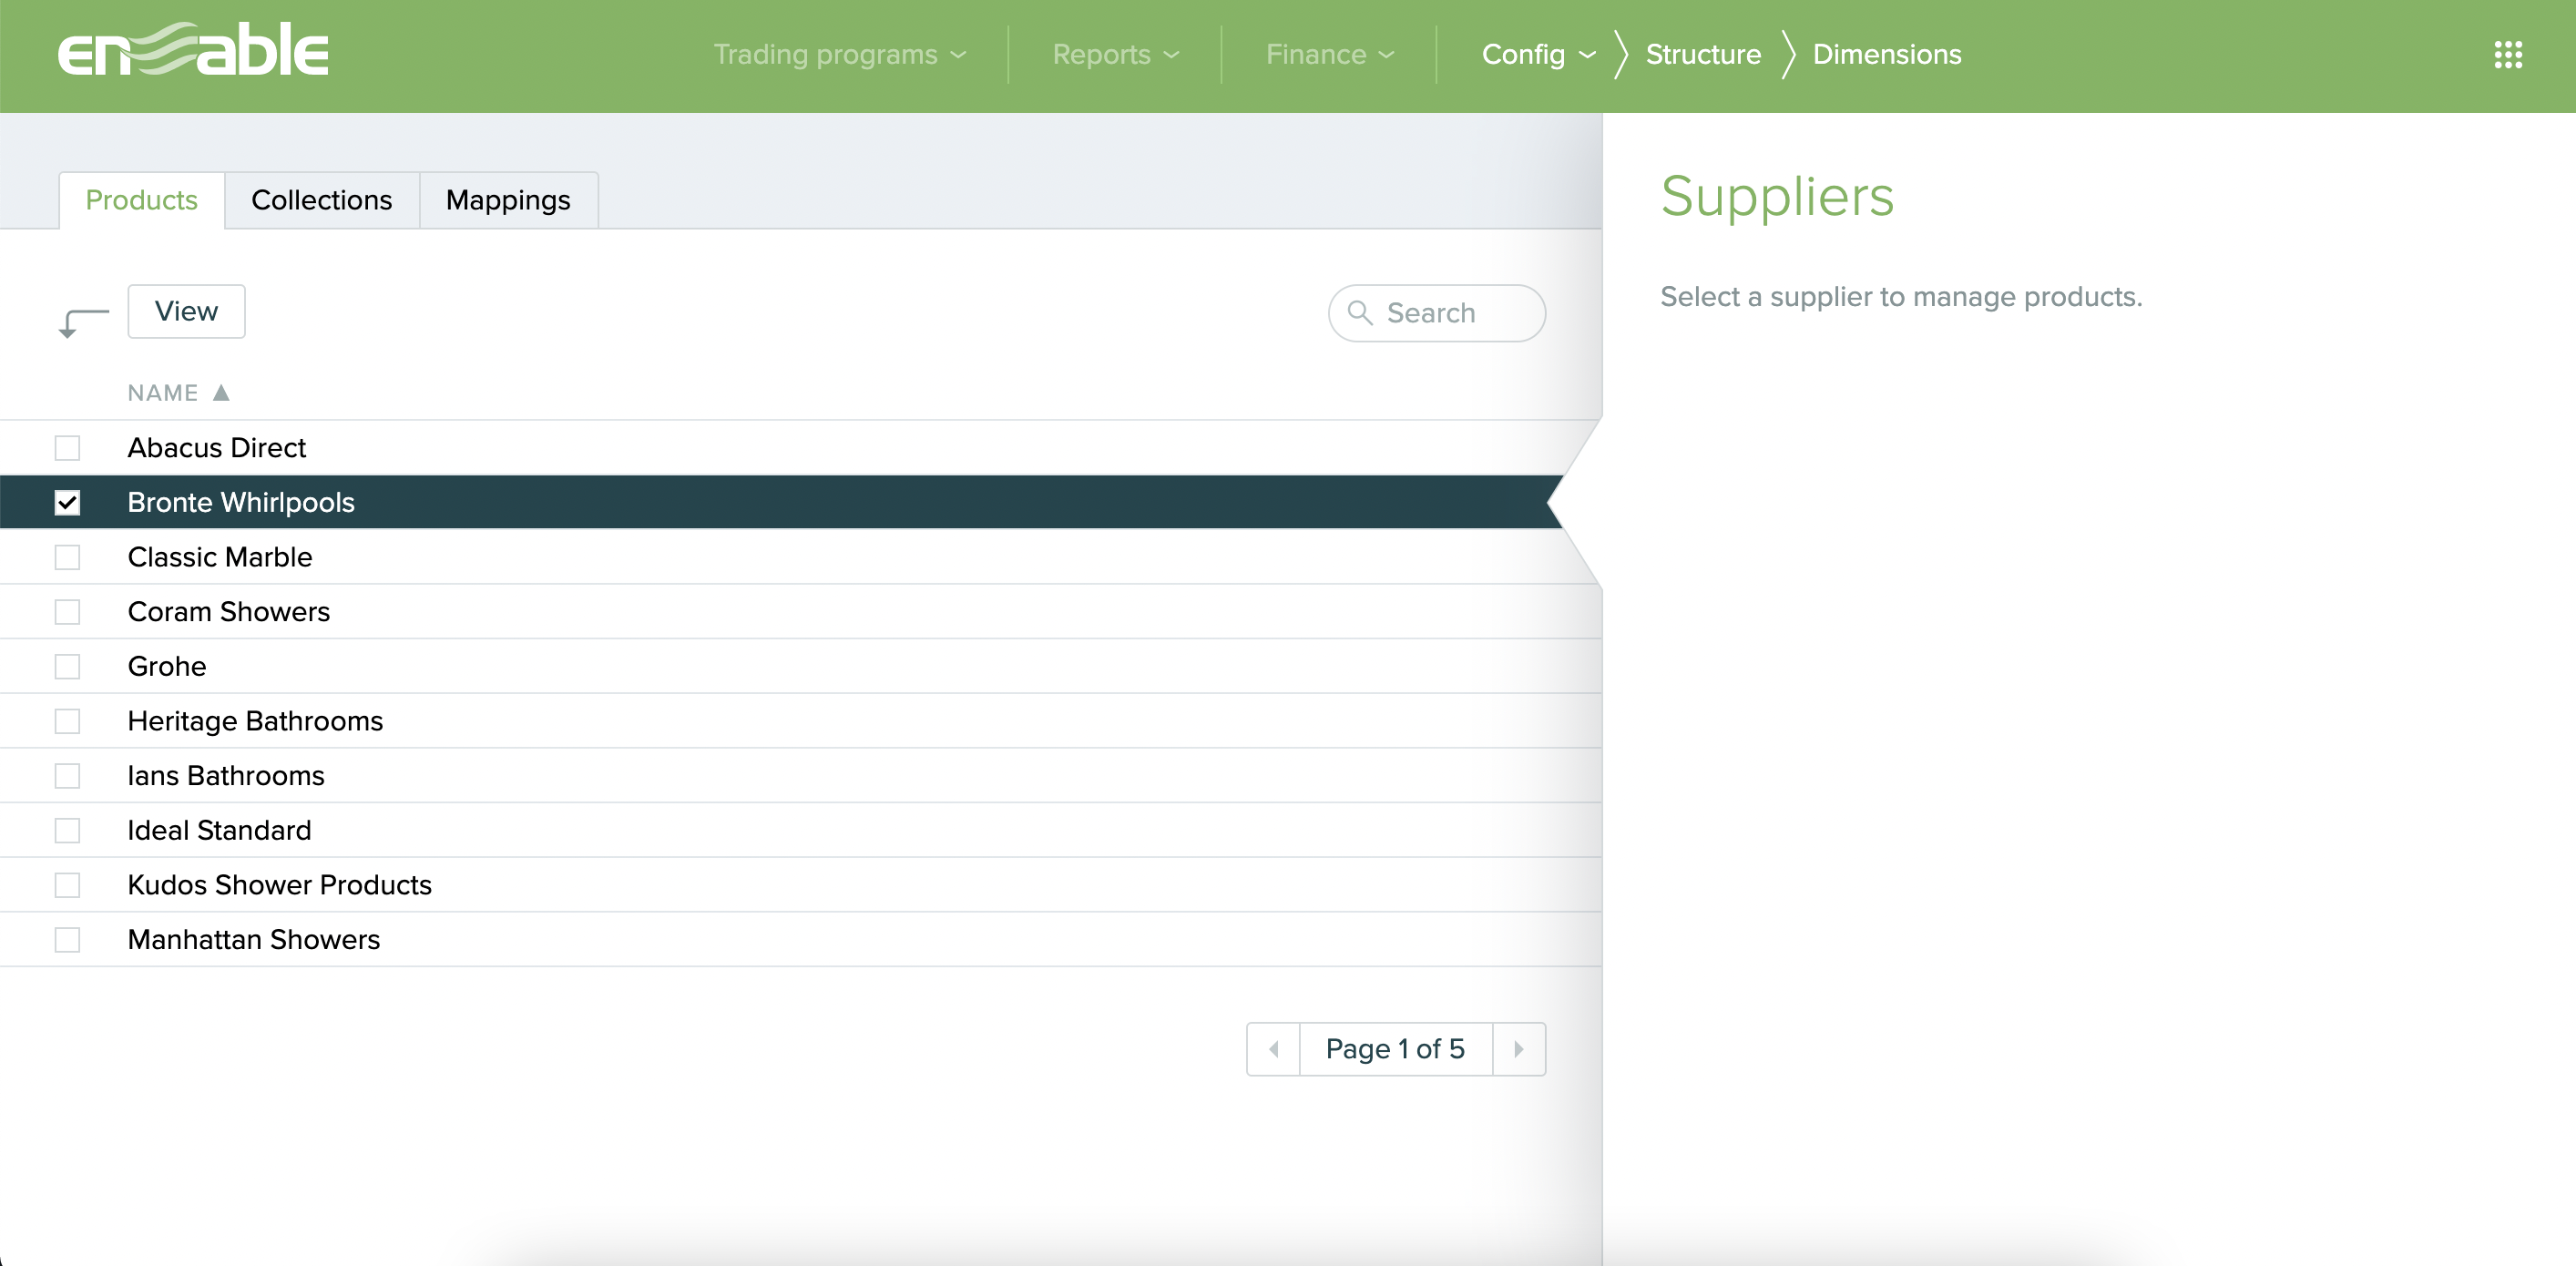
First, navigate to the Dimensions tab as explained above and select the relevant dimension. Click the View {DimensionName} button, at which point you will be taken to a list of trading partners from which you can select a trading partner to assign dimension items against.
After selecting a partner, click the View button (as shown below, which uses ‘Products’ as the example dimension).
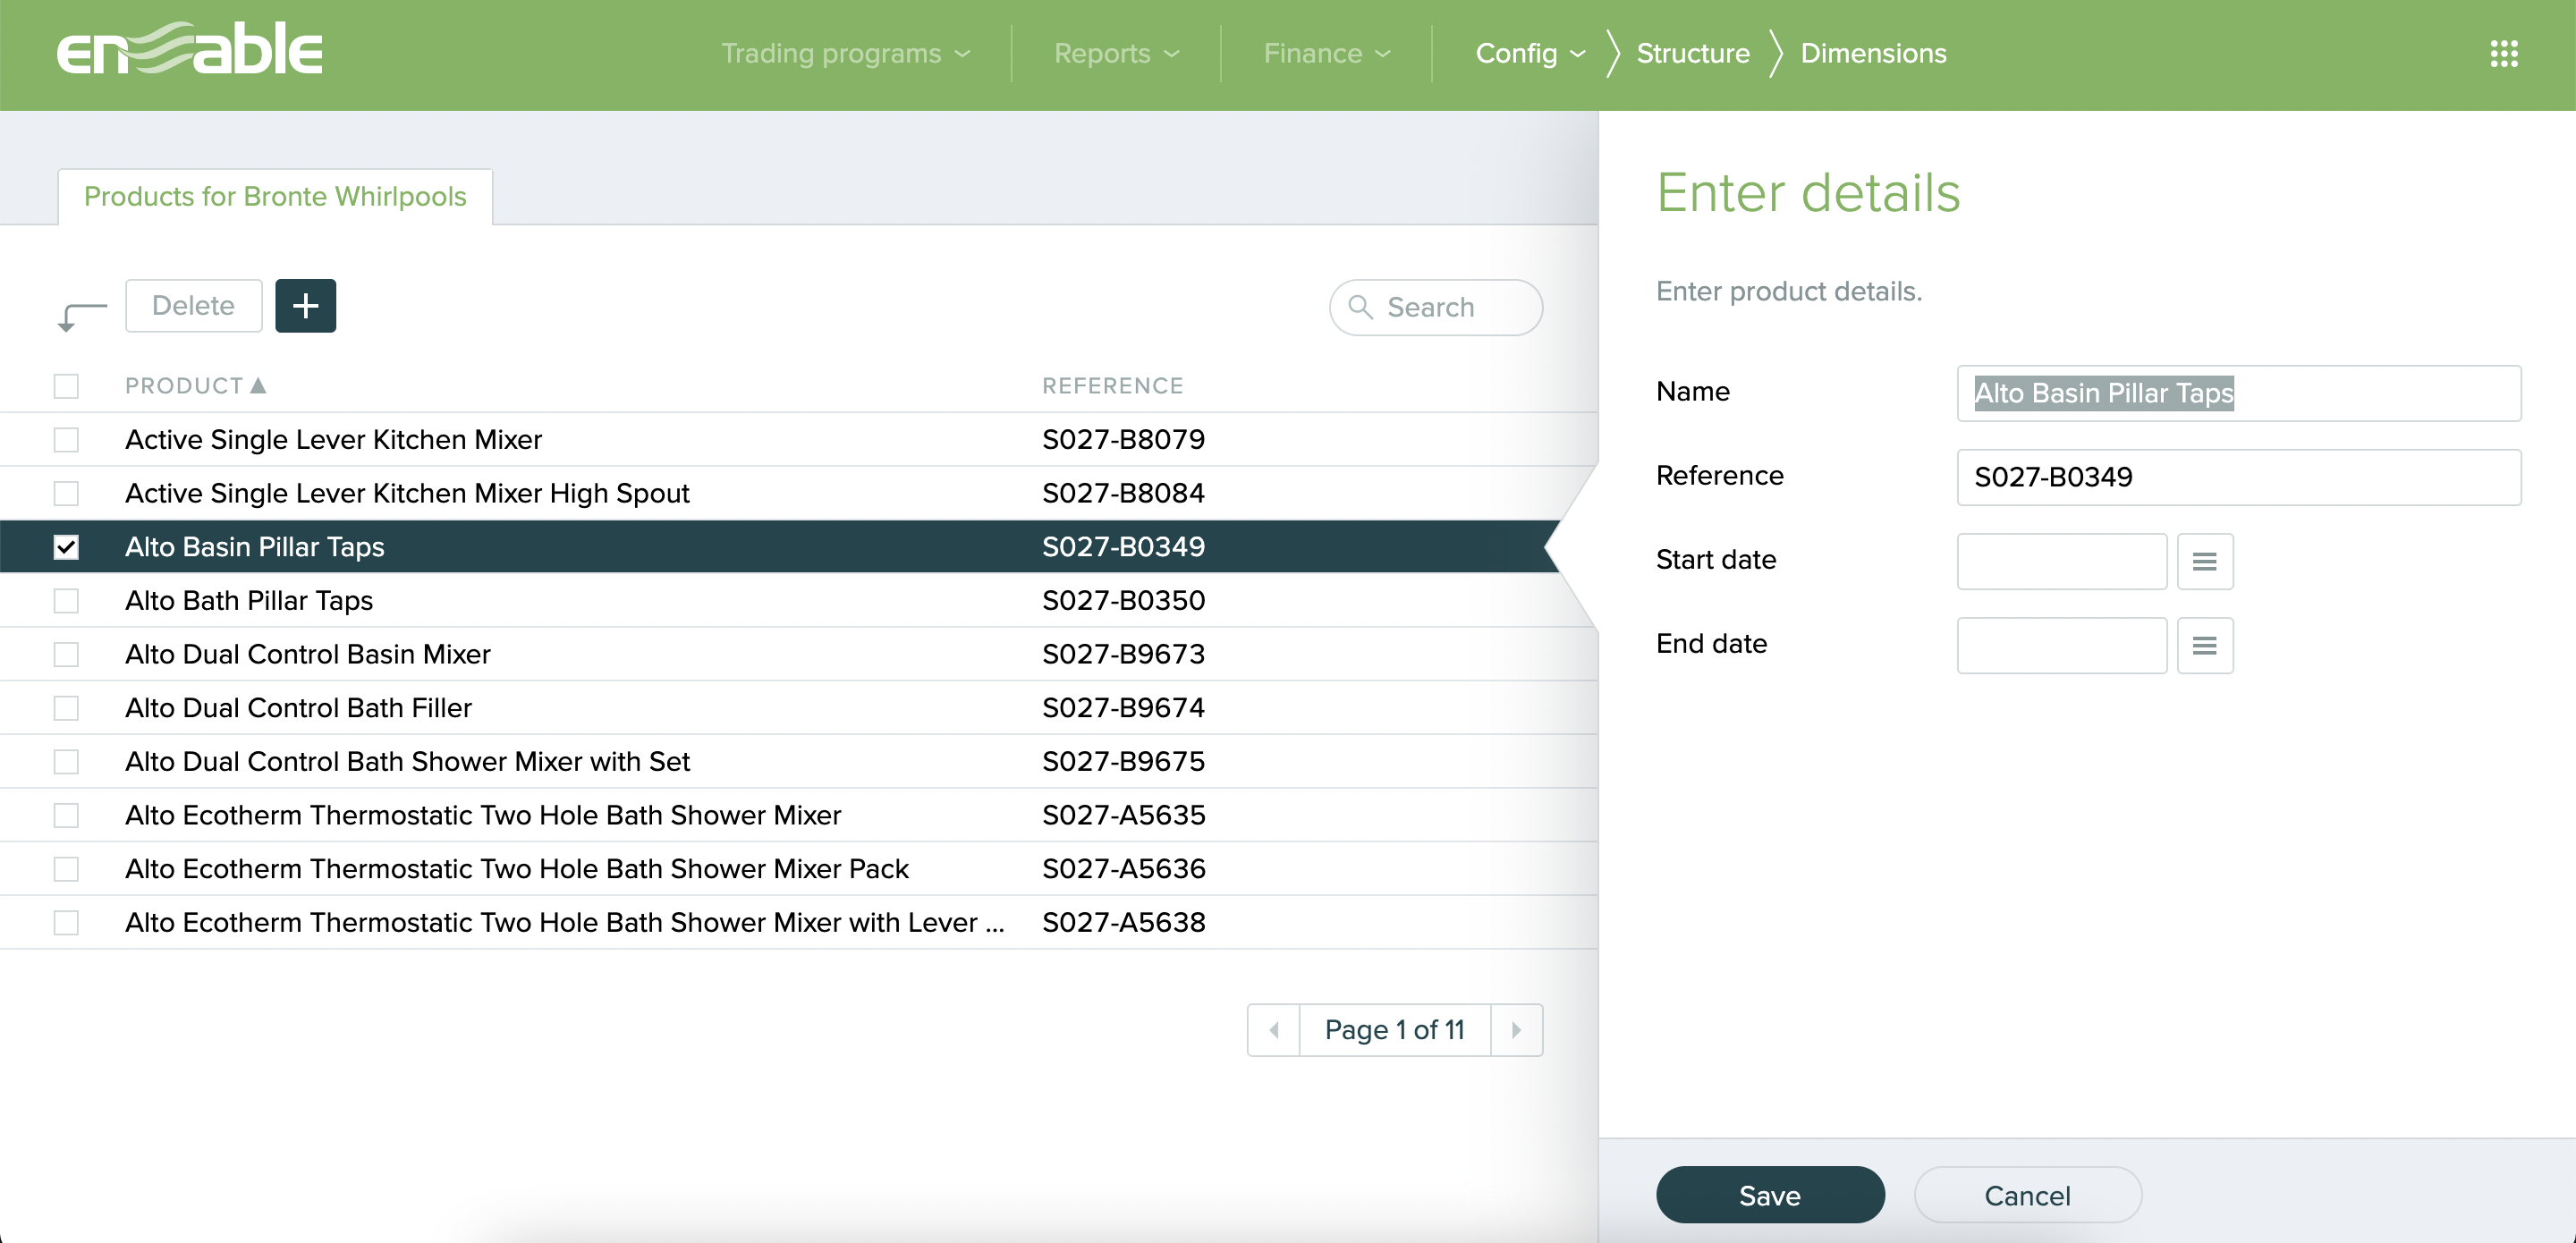
You will then be taken to a page containing a list of your existing dimension items. Click the + button, enter your dimension item information in the panel on the right of the page (shown below, which uses ‘Products’ as the example dimension) and click Save to create your dimension item.
Please note — there is a 255 character limit for the dimension item name and a 50 character limit for the dimension item reference.
To Delete at a trading partner level, first follow the above. From here you can select dimension items and click Delete located at the top left-hand corner. This will delete dimension items again the selected trading partner.
Please note — when a new dimension item is first created, it will be ‘unallocated’ for all collections and therefore cannot be used within a program line. For information on allocating dimension items to a collection, please see the article Allocate dimension items to a collection.